
Gardening is a wonderful, rewarding hobby, but let’s be honest: it can feel like a lot of work. If you’re looking for simple shortcuts that save time, money, and hassle, you’re in the right place. We’ve gathered some of the most effective and easy gardening hacks that will transform your weekend chores into quick, satisfying tasks.
Whether you’re battling persistent weeds, trying to keep your houseplants thriving, or just looking to cut back on your water bill, these tips are designed to be 100% human-friendly and incredibly effective. Let’s dig in!
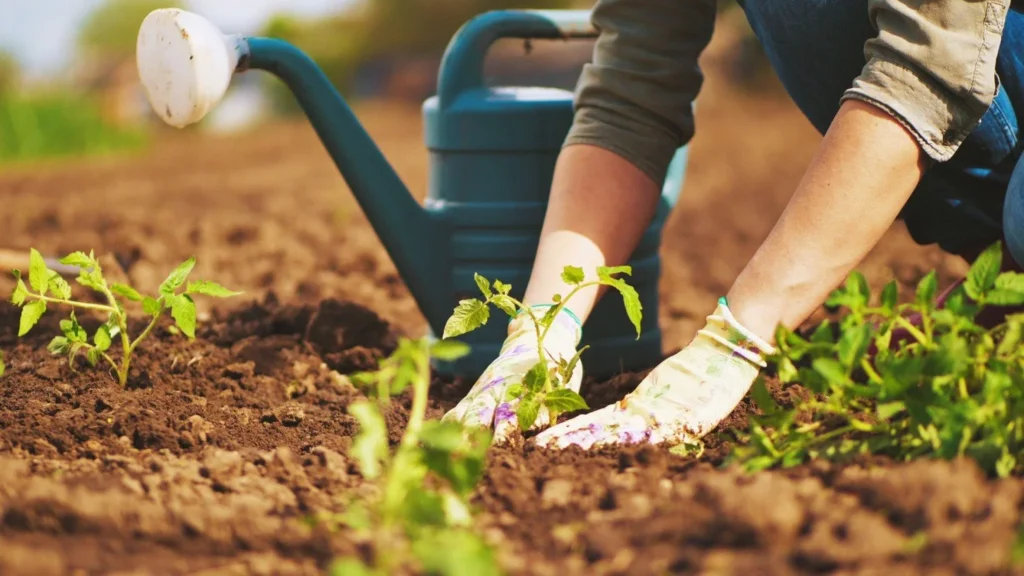
Stop Guessing: The Simplest Way to Water Your Plants
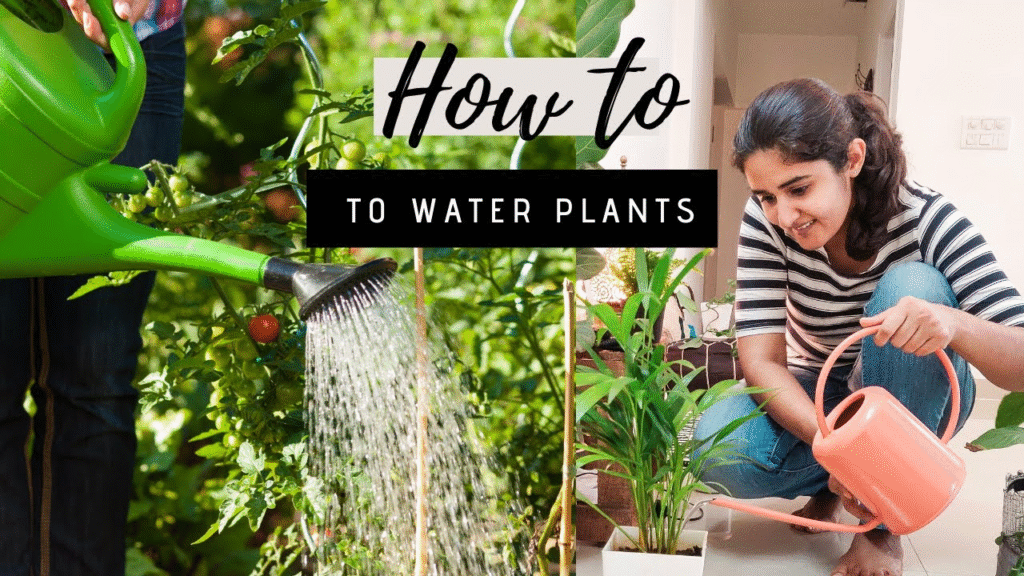
One of the most frequent gardening tasks is watering, and it’s also the area where new gardeners make the biggest mistake. How often have you wondered if your plants are thirsty or if you’re drowning them? Over-watering is actually the number one reason plants fail!
Instead of sticking to a rigid schedule, you should always check the soil before reaching for the hose. The secret is a technique called the “finger test.”
- Locate Your Index Finger: Use your index finger like a moisture meter.
- Dig Down an Inch or Two: Push your finger about one to two inches deep into the soil right near the plant’s base.
- Feel the Soil:
- If the soil feels dry, it’s time to water thoroughly.
- If the soil feels moist or cool, stop! Wait another day or two.
This simple check prevents the common pitfalls of both over-watering (which leads to root rot) and under-watering (which stresses the plant). It ensures your plants get moisture exactly when they need it, leading to healthier growth. You’ll be amazed at how this quick habit saves your garden from unnecessary stress.
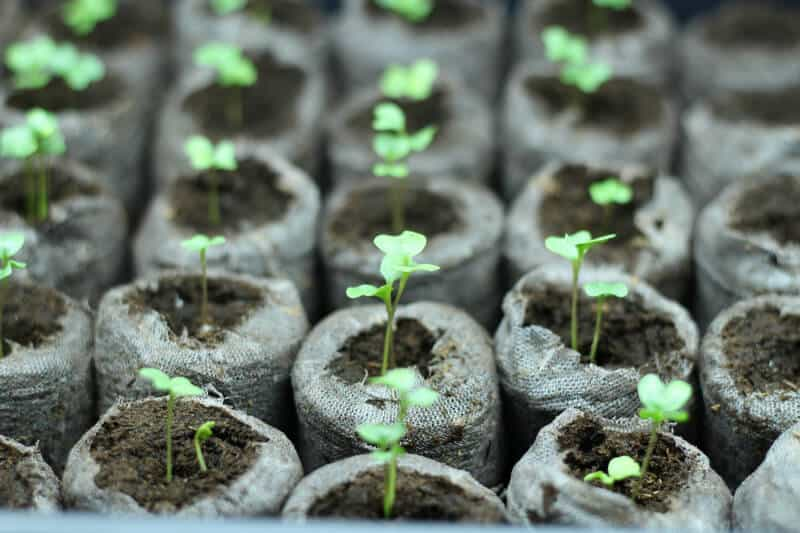
Don’t Buy Seed Trays: Smart Repurposing for Seed Starting
Starting your garden from seed is incredibly satisfying, but those plastic seed starter trays can be expensive and wasteful. You absolutely don’t need fancy equipment to give your seedlings the best start. Look around your home for simple items you can repurpose.
DIY Seed Starter Solutions:
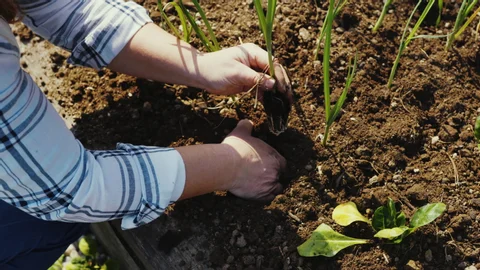
- Egg Cartons: The humble cardboard egg carton is perfect. The individual cups make excellent little homes for seeds. Just remember to use a pin or screwdriver to poke a small drainage hole in the bottom of each cup. This prevents waterlogged soil, which is deadly to tiny sprouts.
- Toilet Paper Tubes: These are perhaps the best hack of all! The small cardboard tubes are great for growing seedlings that don’t like their roots disturbed, such as squash or cucumbers. Once the seedling is large enough and the weather is right, you can plant the entire tube directly into the ground. The cardboard will decompose naturally, and the plant avoids the shock of being moved—a true time-saver!
By using what you already have, you’re not only being budget-friendly but also highly sustainable. It’s a win-win for your wallet and the environment.
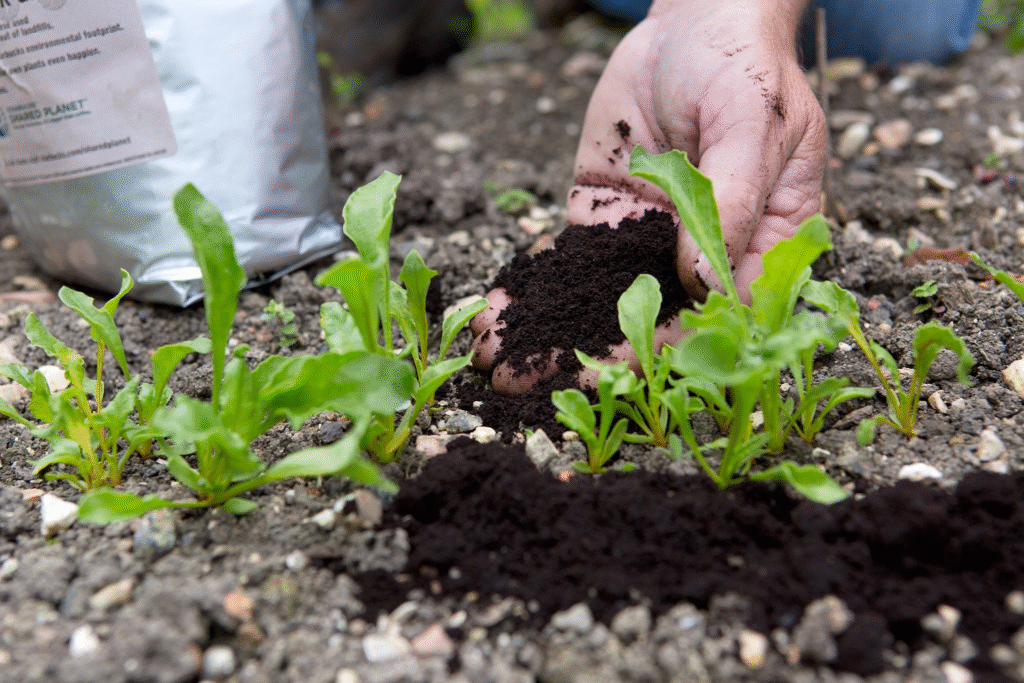
The Mulch Magic: Halve Your Weeding and Watering Chores
Does constant weed control feel like a never-ending battle? It doesn’t have to be. The secret weapon of every savvy gardener is mulch. This one hack addresses two of the biggest garden time-sinks: weeding and watering.
Spreading a thick layer of organic mulch (like shredded wood chips, straw, or even compost) around your garden beds works wonders:
| Benefit | How it Works | Real-World Impact |
| Weed Suppression | The mulch blocks sunlight from reaching the weed seeds in the soil. Without light, they can’t germinate and grow. | You’ll spend significantly less time pulling stubborn weeds. |
| Moisture Retention | The layer acts like a blanket, shading the soil and reducing the rate at which water evaporates. | Your garden beds stay moist longer, meaning you can water less often. |
| Soil Enrichment | As the organic material slowly breaks down over the season, it adds vital organic matter and nutrients back into your soil. | Your soil structure improves naturally, leading to healthier plants over time. |
| Temperature Regulation | Mulch keeps the soil cooler in the hot summer and provides a little insulation during chilly nights. | Roots stay happy, making for more robust plants. |
Export to Sheets
The key is the depth: aim for a two- to three-inch layer everywhere except right up against the plant stems, where it could cause rot.
A Jolt of Nutrition: Coffee Grounds for Container Plants
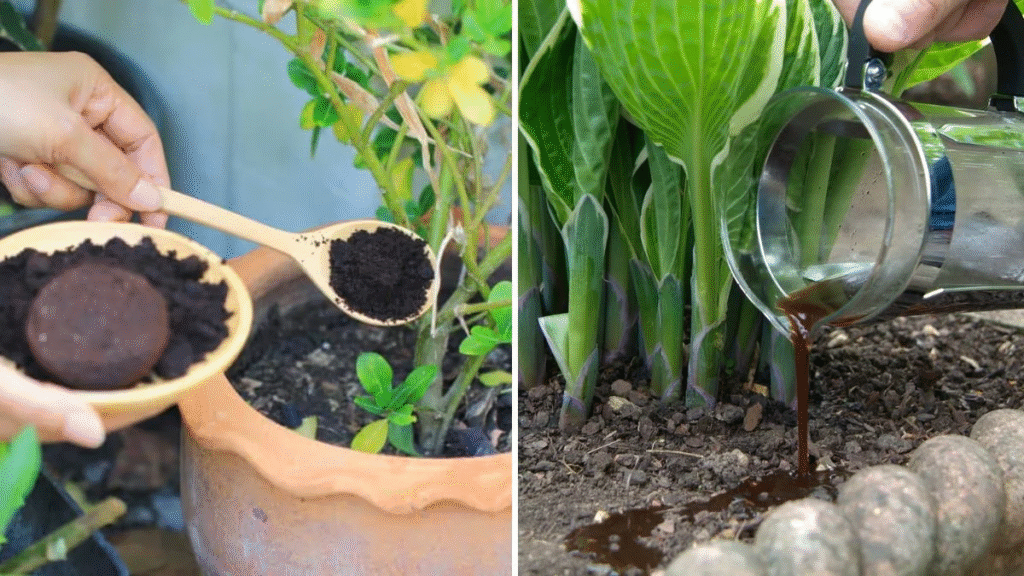
Buying specialized fertilizers can get expensive, especially if you have many container plants or a patio full of flowers. Did you know the secret to healthy, lush growth might be sitting right in your kitchen trash?
Leftover, cooled coffee grounds are a fantastic, natural fertilizer. They are rich in three essential nutrients that plants crave:
- Nitrogen (N): Essential for lush green leaf and stem growth.
- Potassium (K): Helps regulate water use and strengthens resistance to disease.
- Phosphorus (P): Crucial for strong root development and flower/fruit production.
Beyond the nutrients, coffee grounds also gently increase the acidity of the soil. This makes them a perfect treat for acid-loving plants like:
- Roses
- Blueberries
- Hydrangeas (which might even change color!)
- Azaleas and Rhododendrons
How to Use Coffee Grounds:
Simply sprinkle a thin layer (don’t create a crust) over the topsoil of your container. Follow up by watering thoroughly, allowing the nutrients to leach down to the roots. Not only is this a great way to fertilize for free, but it also improves the soil texture over time.
Homemade Protection: A Natural, Chemical-Free Pest Repellent
When you spot those first annoying pests—maybe some tiny aphids or a spider mite infestation—your first instinct might be to grab a strong chemical spray. However, many common pesticides also kill beneficial insects like bees and ladybugs, which you definitely want to keep around!
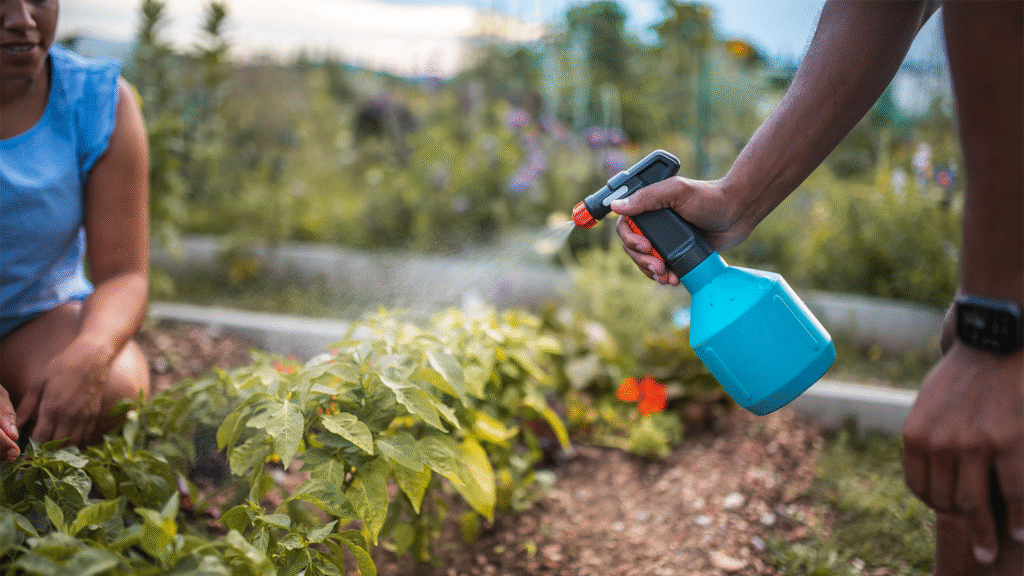
Instead, save money and protect your garden’s ecosystem by whipping up your own natural pest repellent at home.
The Simple Recipe:
| Ingredient | Measurement | Purpose |
| White Vinegar | Equal Parts (e.g., 1 cup) | The strong scent and acidity help deter many common pests. |
| Water | Equal Parts (e.g., 1 cup) | Used to dilute the vinegar so it doesn’t harm the plant. |
| Liquid Dish Soap | A few drops (1/2 teaspoon) | Acts as a mild surfactant, helping the mixture stick to the leaves and the bugs. |
Export to Sheets
Mix the ingredients together and pour them into a clean spray bottle.
Application Tips:
- Target the Bugs: Mist the leaves and stems of affected plants, making sure to focus on the undersides of the leaves, which is where pests like to hide and lay eggs.
- Test First: Always spray a small, inconspicuous leaf first and wait 24 hours to ensure your plant doesn’t react poorly (though this mixture is generally very gentle).
- Timing: Apply the repellent in the evening or on a cloudy day. Spraying in direct, hot sun can cause leaf burn.
This homemade spray is incredibly effective against soft-bodied pests and keeps harsh chemicals out of your food garden, making it safer for you, your plants, and the planet.
The Takeaway
Gardening doesn’t require a green thumb; it just requires a few smart, simple strategies. By adopting these easy hacks—from using a finger to check for moisture to repurposing household waste—you’ll create a healthier, more vibrant outdoor space without spending all your free time or money. It’s time to work smarter, not harder, in the garden!
#GardeningTips #HomeGarden #IndoorPlants #OutdoorGarden #PlantLovers #GreenHome #GardenHacks #EcoFriendlyHome #HomePlants #GardeningIdeas #UrbanGarden #PlantCare #SustainableLiving #GardenDecor #GrowYourOwn#Carrerbook#Anslation #NatureAtHome #HealthyPlants #GardenGoals #HomeGreening #PlantLife